
Part 1
Some people say that Fujifilm isn’t good enough for motorsport photography. Mostly because “the autofocus isn’t good enough.” I disagree. Sure, maybe Sony or Nikon have better autofocus. But for me? Fujifilm is easier to use. Having the controls right on top of the camera so I can quickly adjust shutter speed and ISO not only helps me get the shot quicker - it also helped me understand how these settings impact a photo.
I’ll include links to the products I use at the end. This post includes affiliate links, which means I may receive a small commission at no extra cost to you if you purchase through a link.
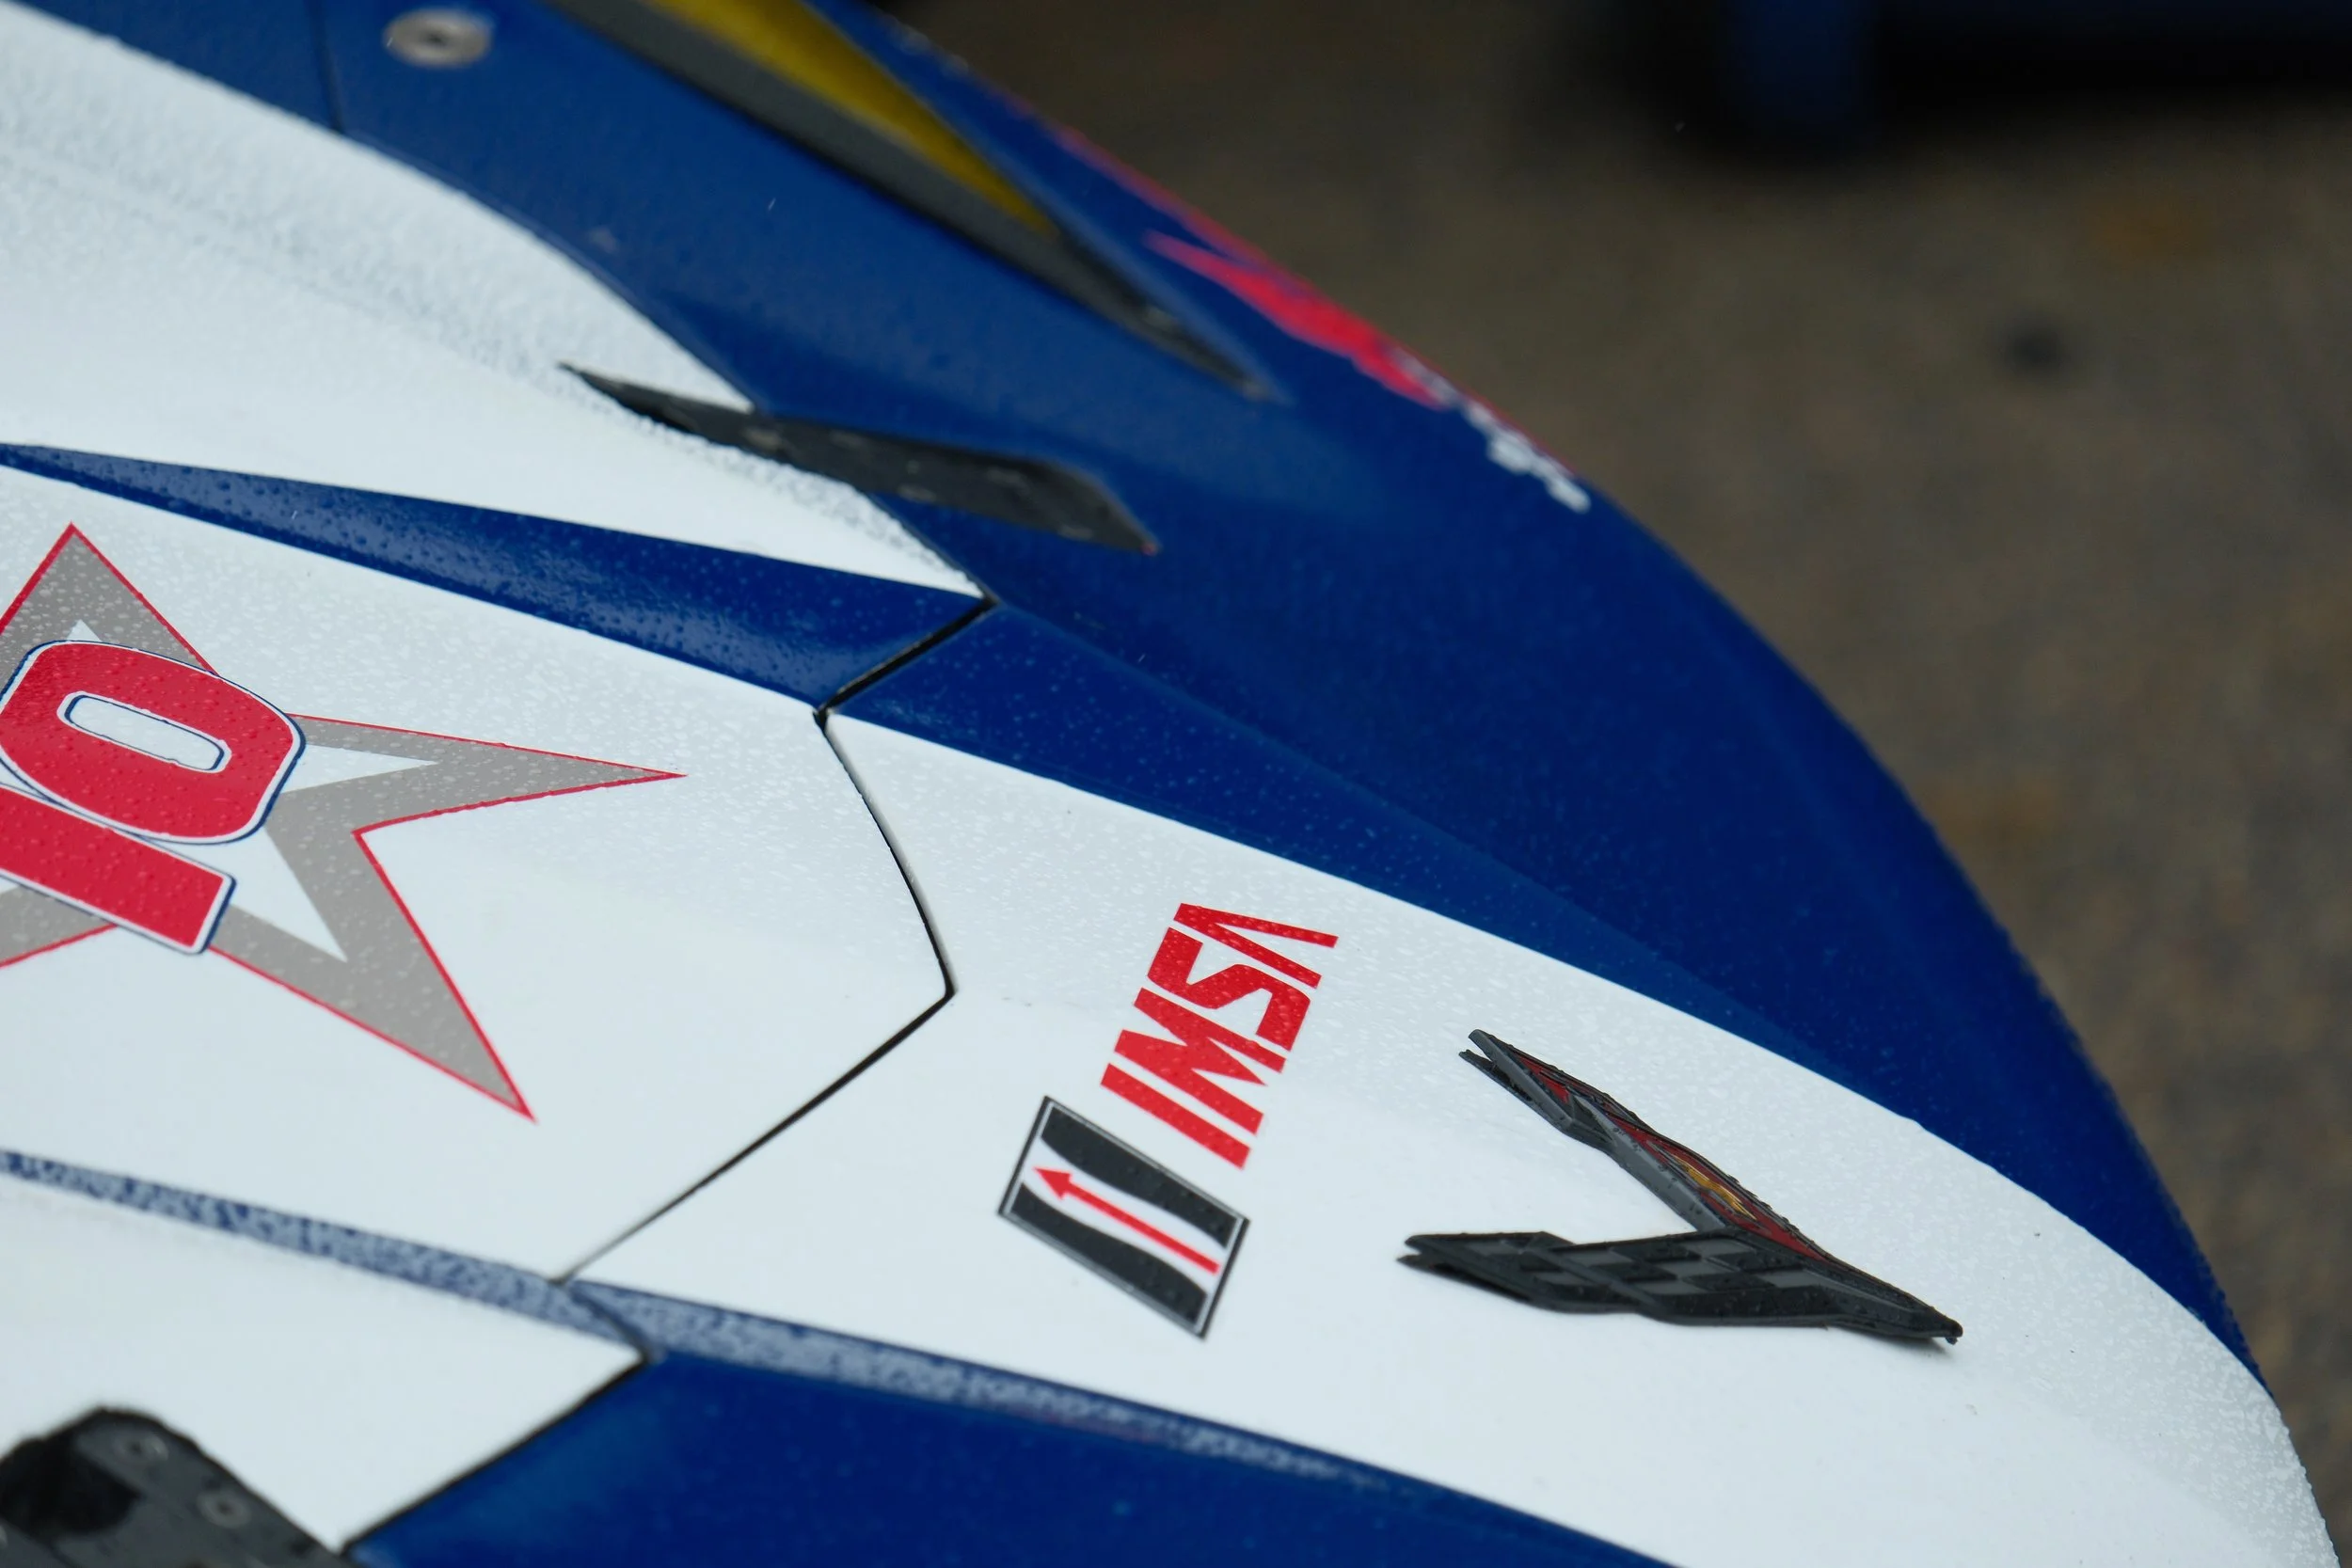
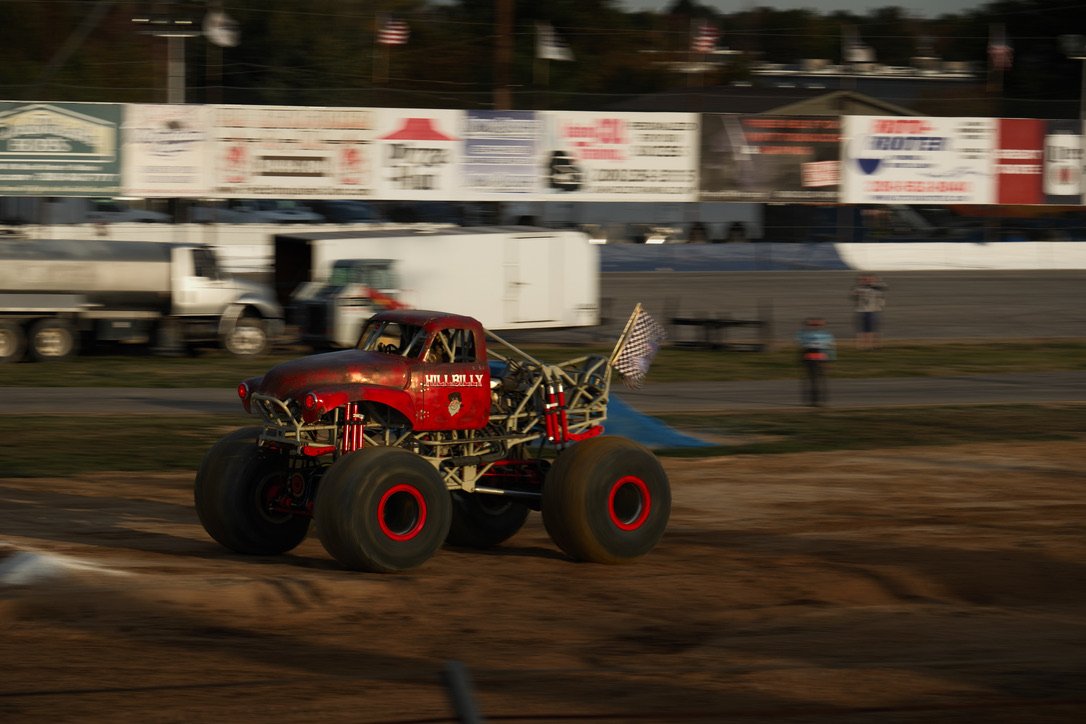
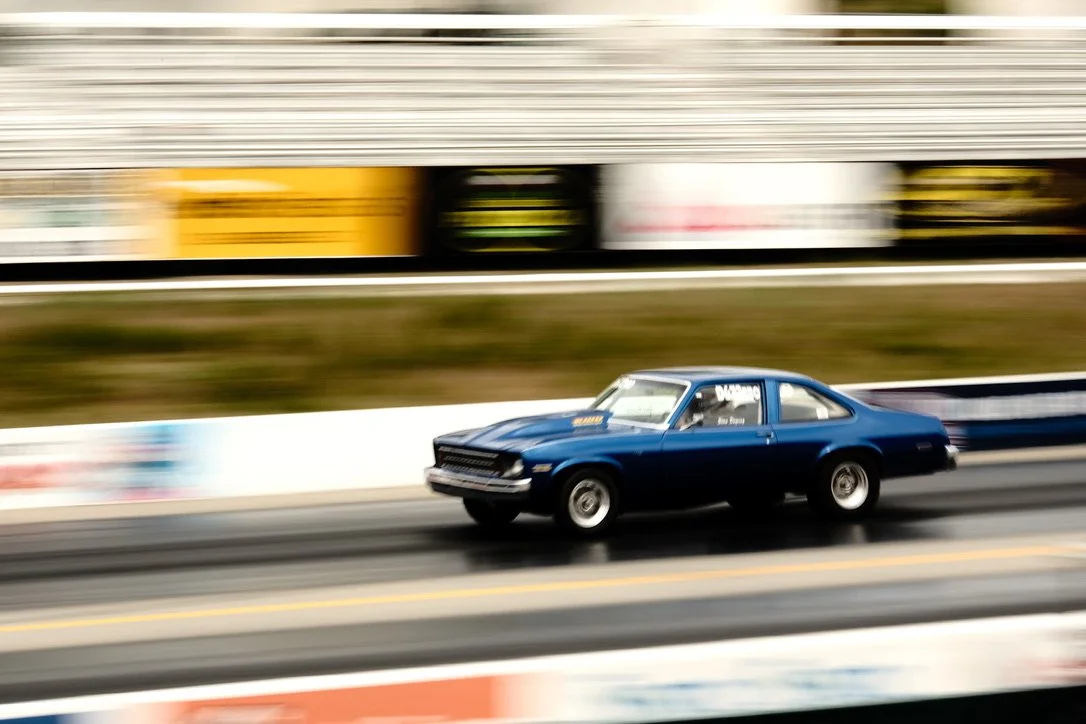
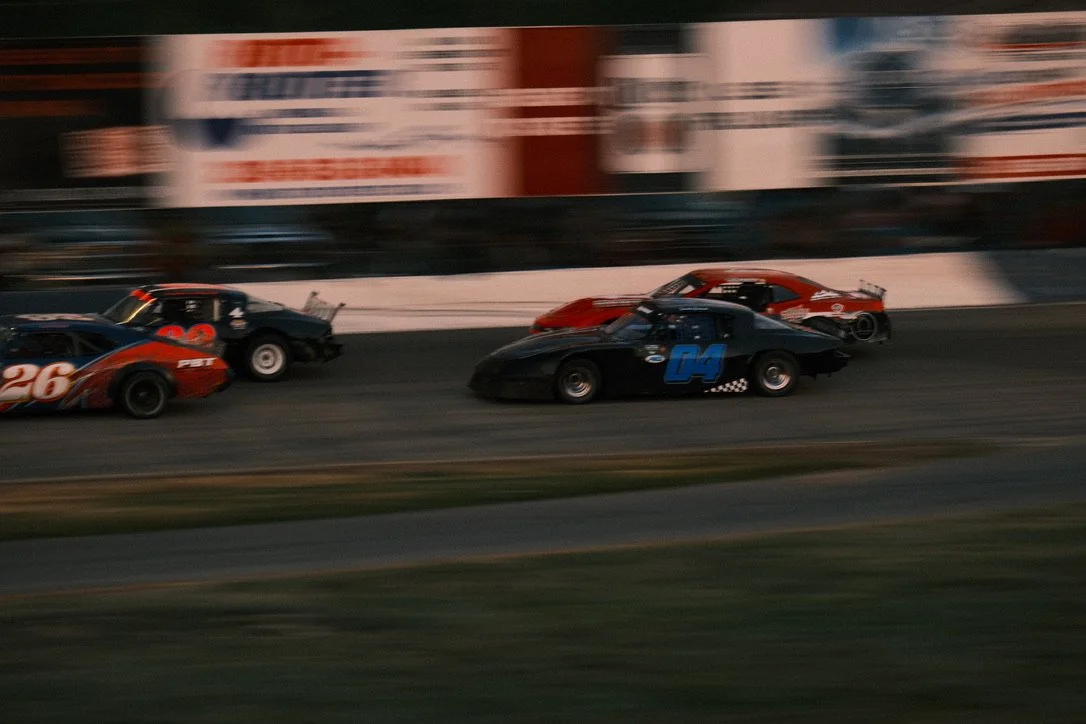
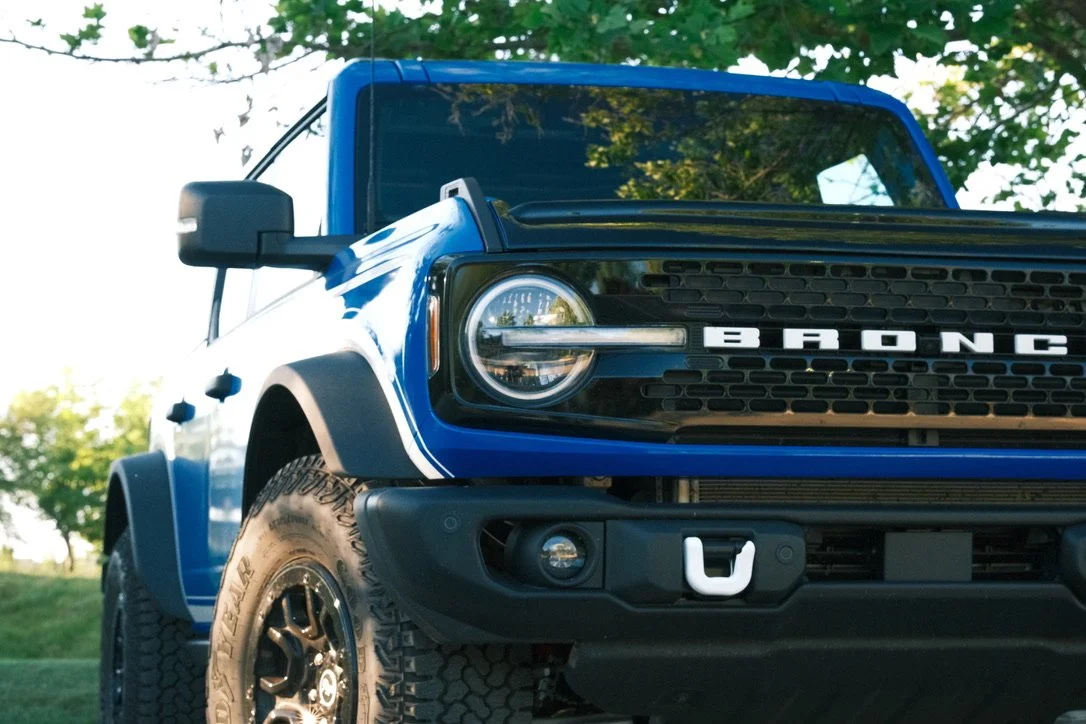
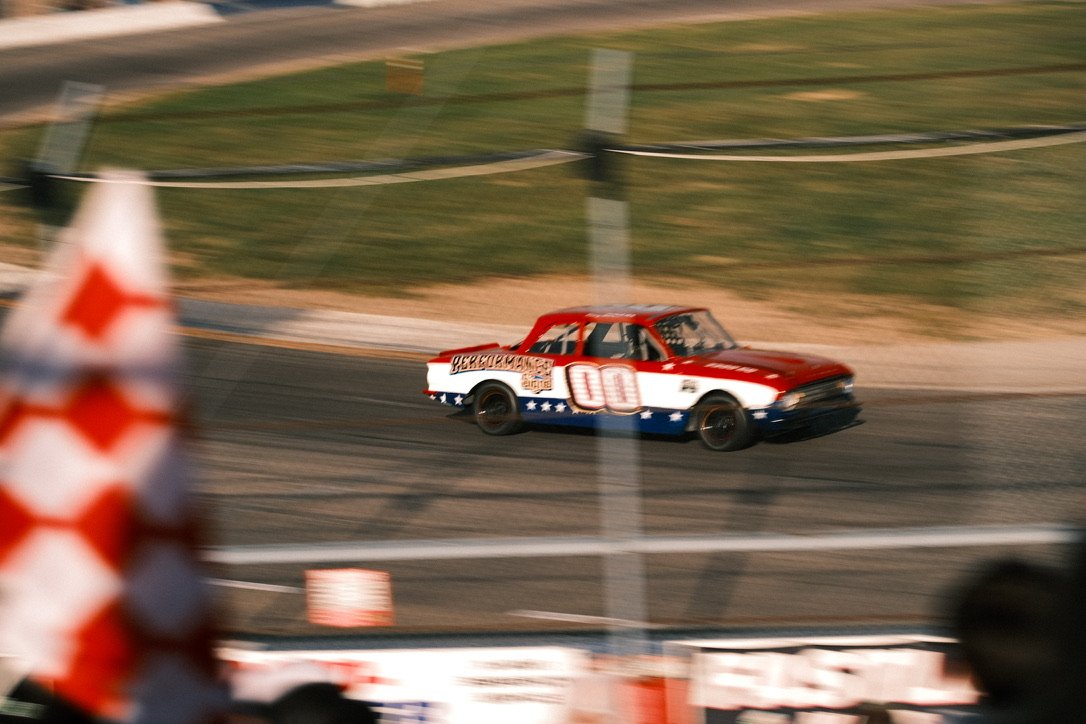
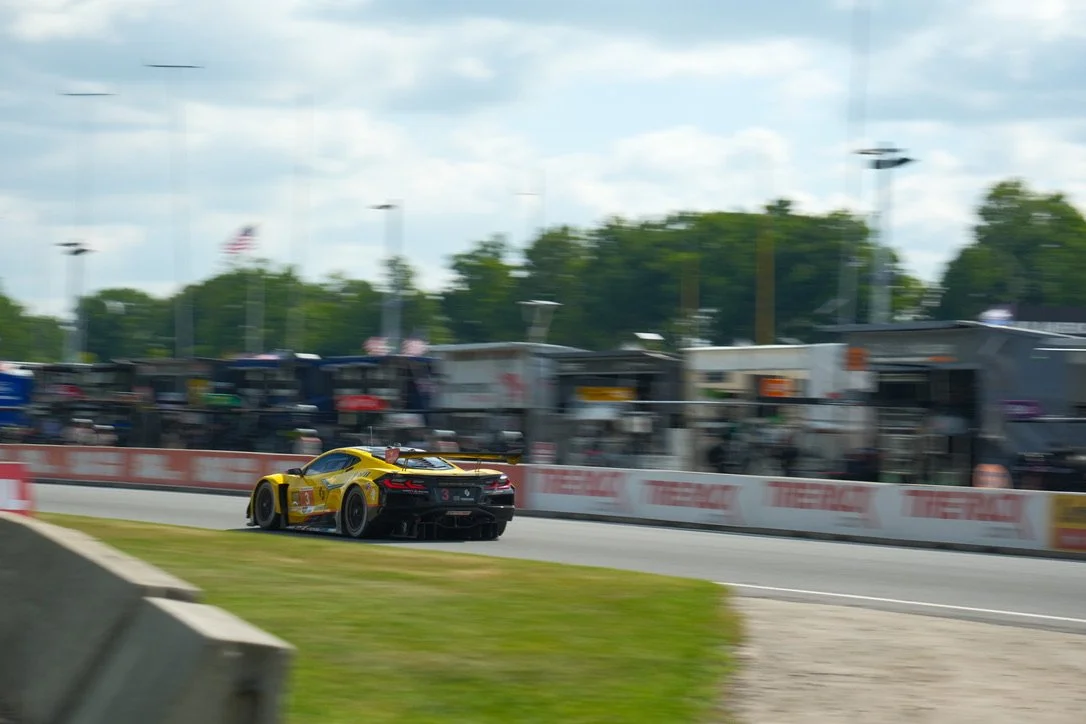
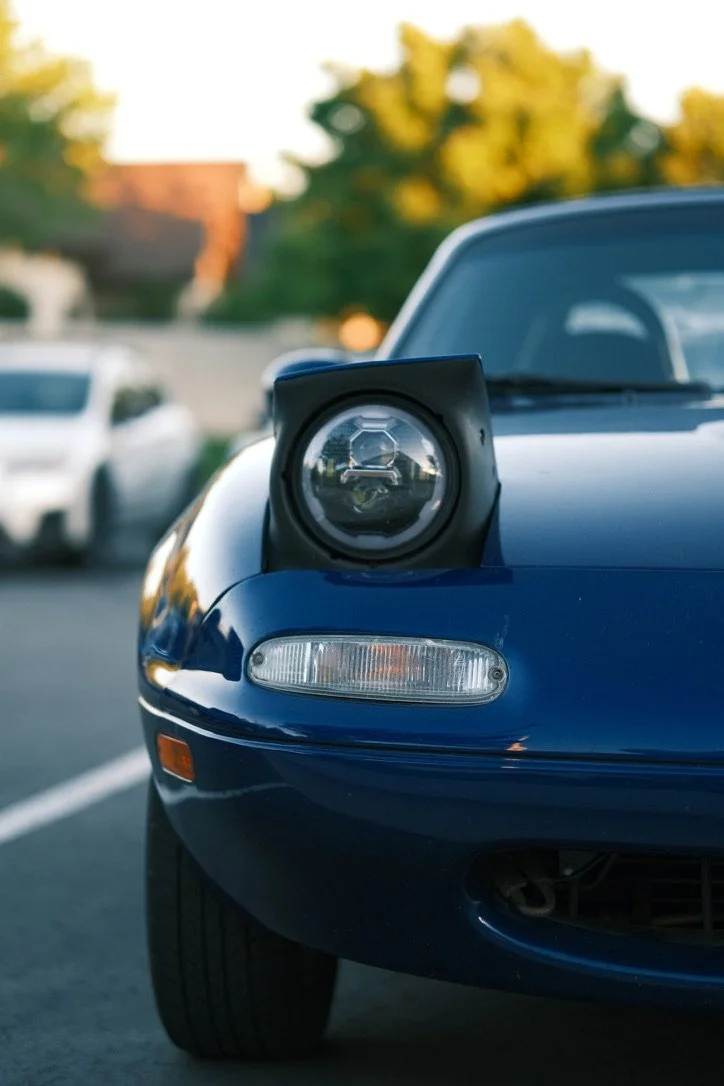
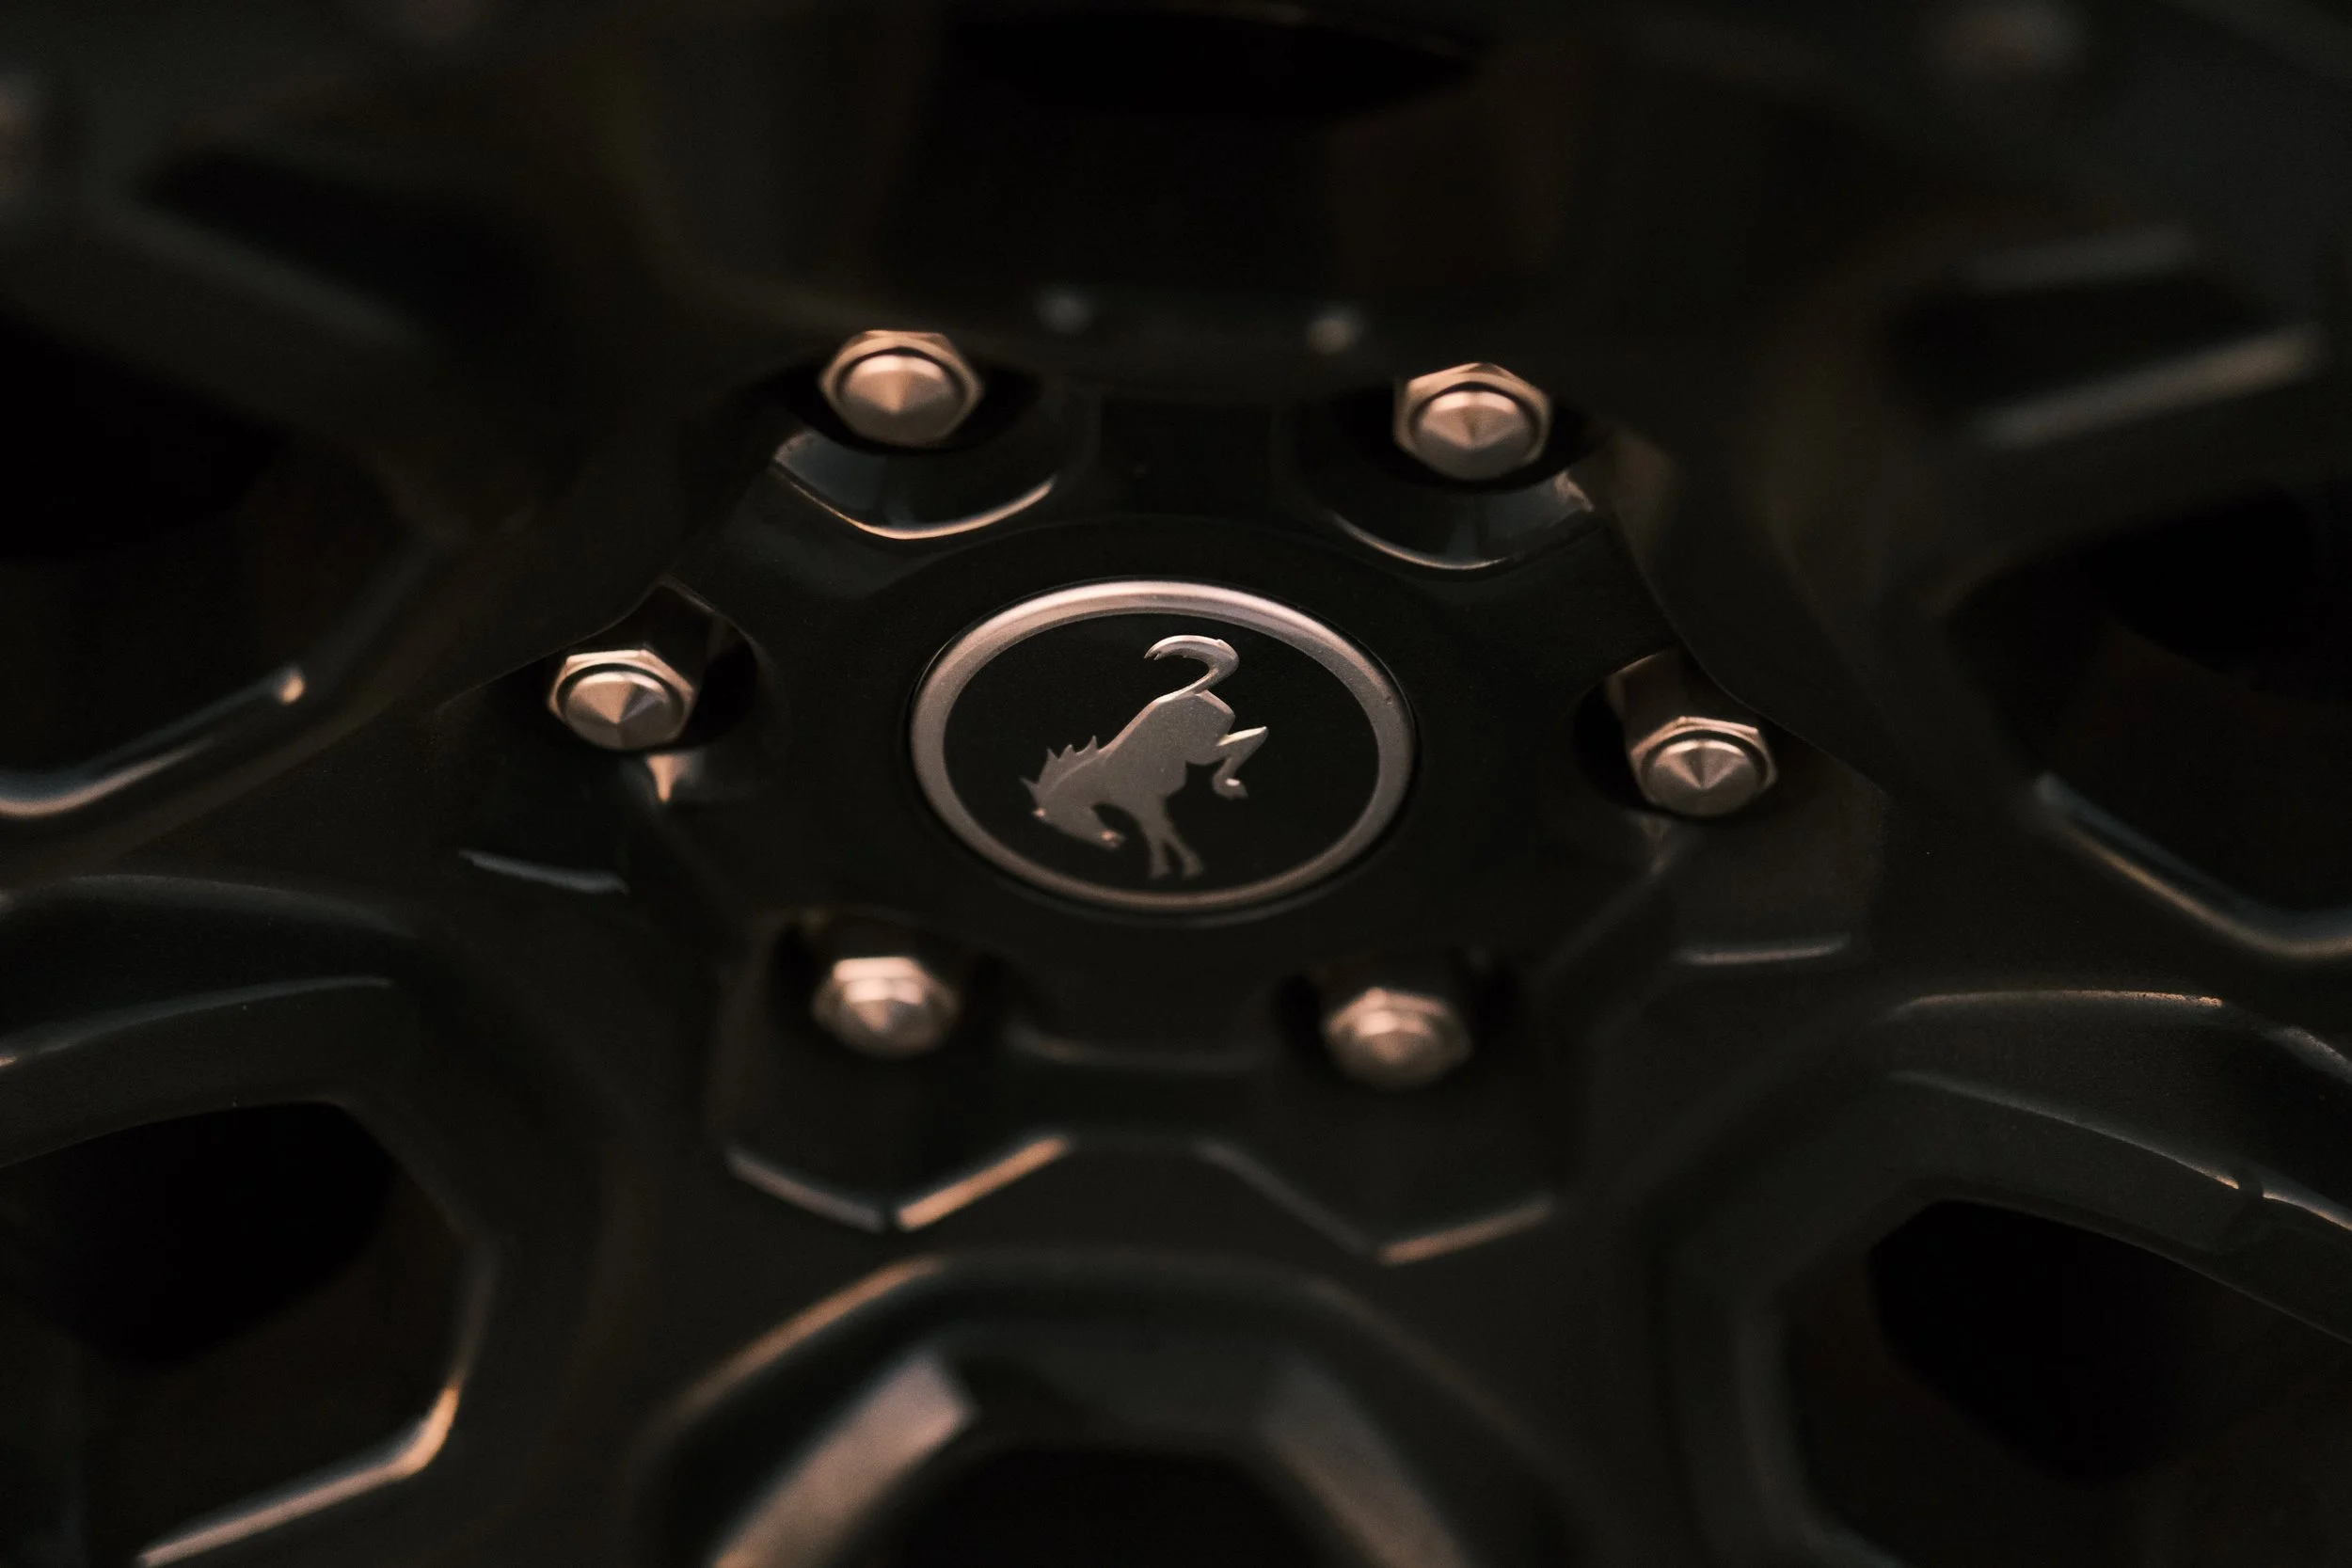
I’ve experimented with a lot of Fujifilm recipes and editing styles over the past year. When I first started out, I went for a Cuban, Old Film, or a ridiculously high contrast look. Very, very stylized.
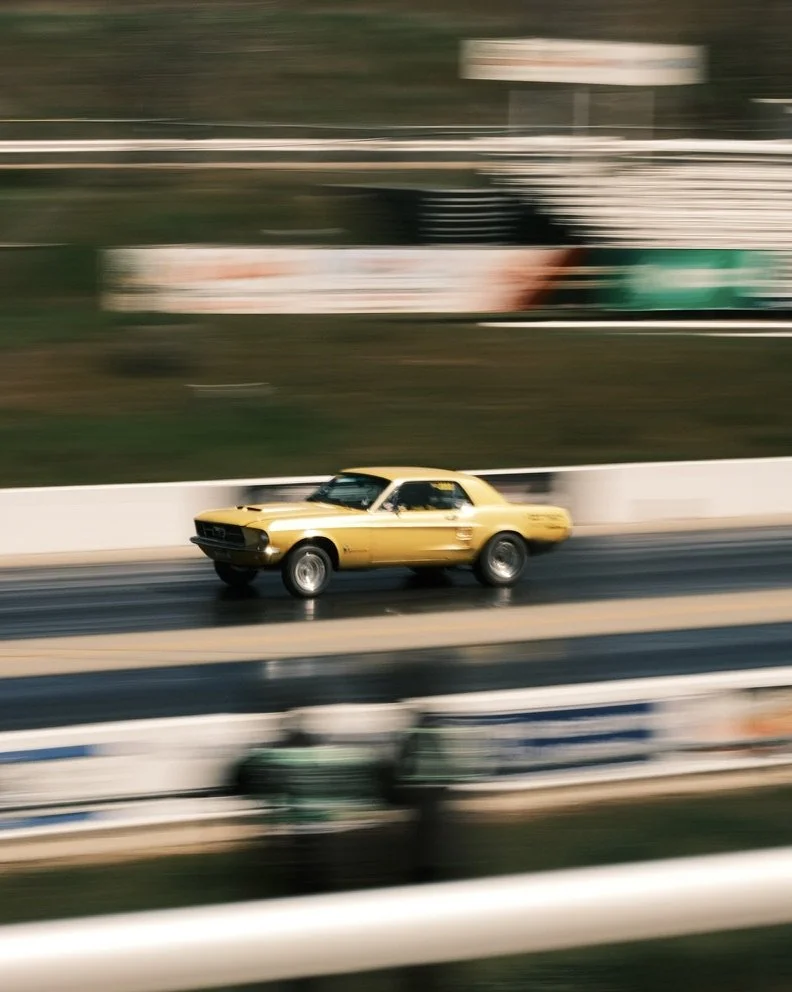
It was pretty hit-or-miss. I was completely at the mercy of natural lighting, because if it dipped for a little…the photos wouldn’t “work” at all. Something I want to explore in the future is what makes a photo “work.” I don’t know. But, it definitely was not working with my film sims in low light.
I adjusted my sims after a bit to look more natural. Less over-processed. More like an enhanced version of what I could see with my own eyes. Compare below, the first row is with my cuban film sim, and the second with my more natural sim.
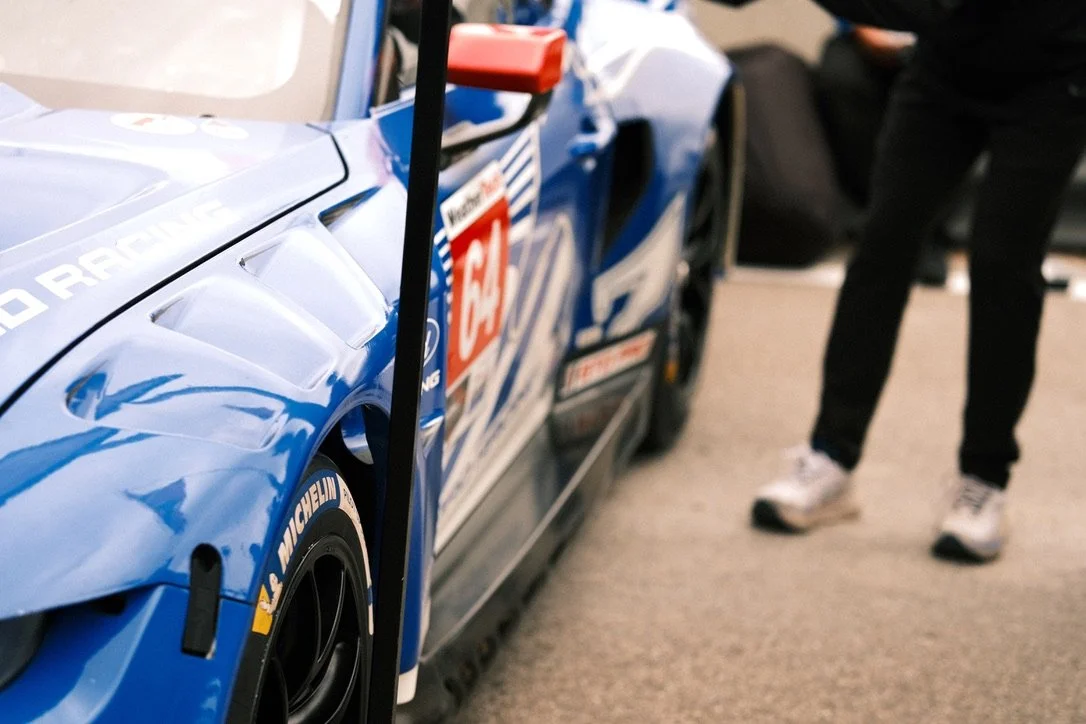
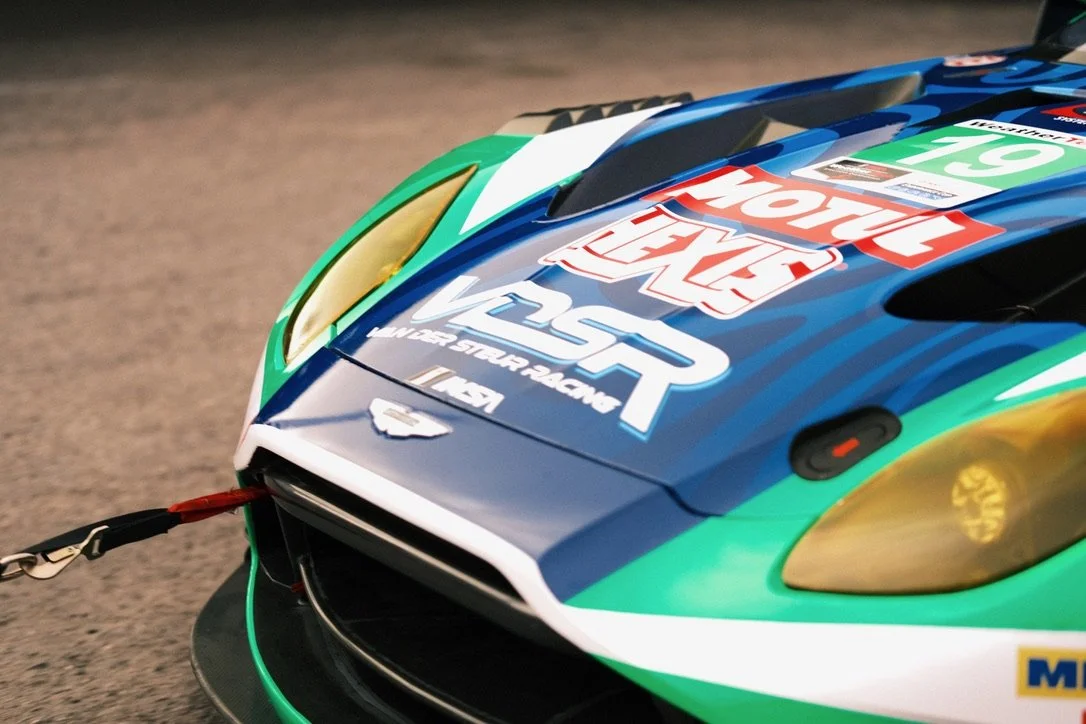
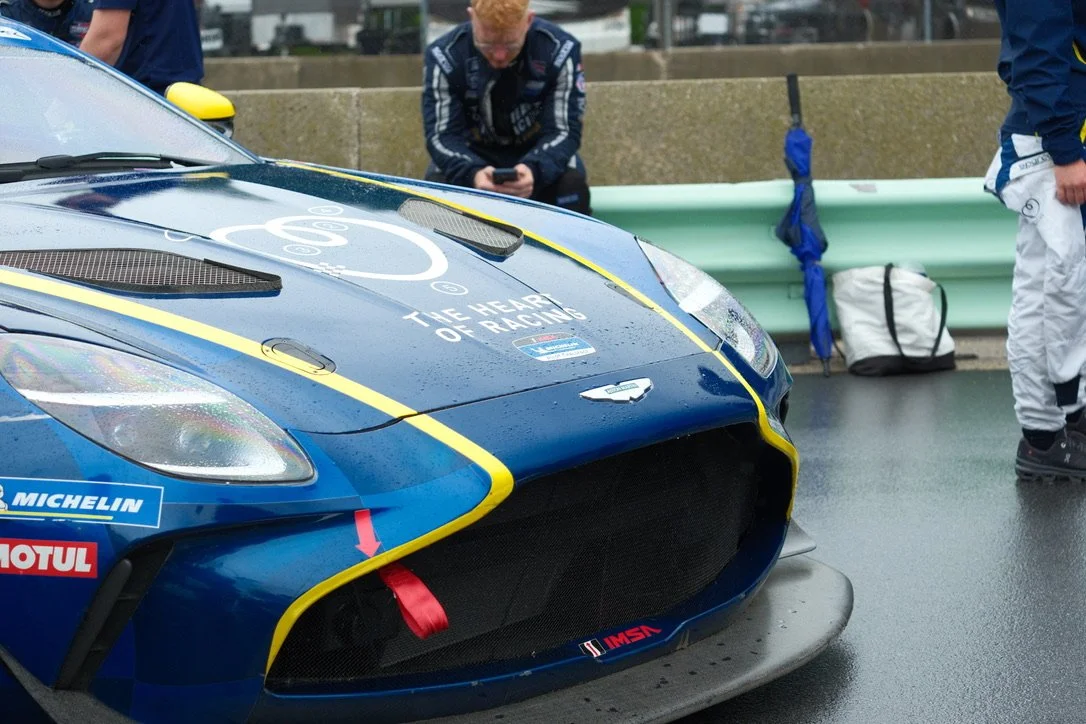
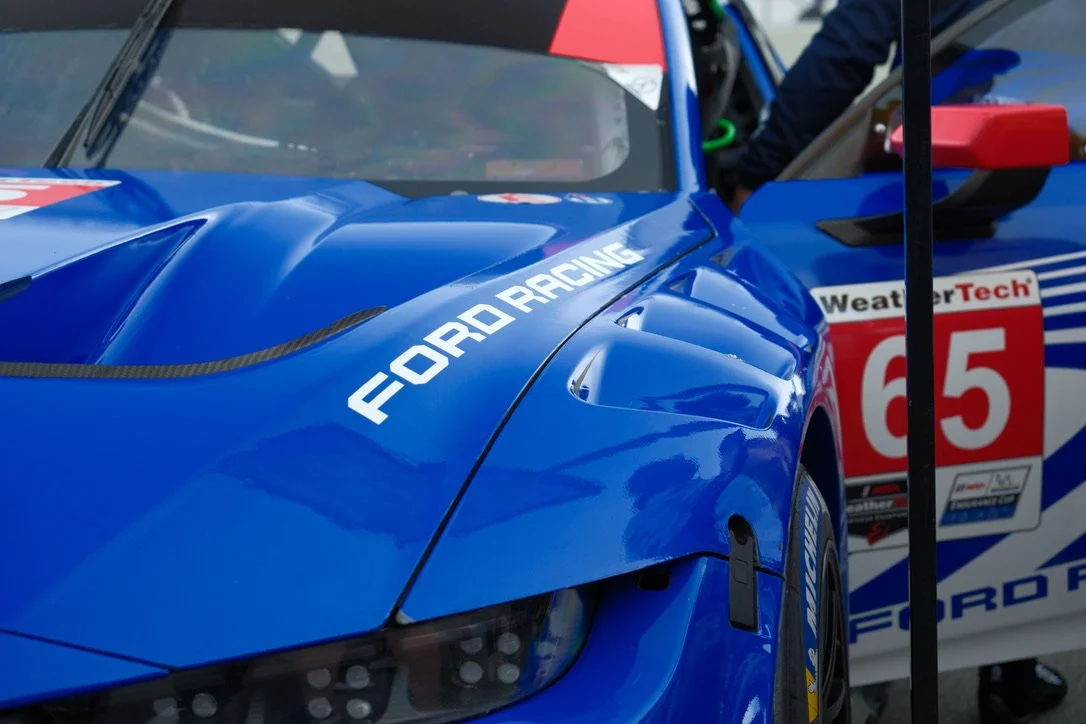
It also helped that I had a better ND/CPL filter.
At the end of the day, don’t let anyone tell you what gear you can / cannot use for a given discipline. Whatever works for you is what works. I’ll share some of the equipment I use below, and hopefully that helps you figure out what gear is best for your needs. In my next post I’ll be going into the “how” for some of my experimentation and photos.
What I Use + Why
As an Amazon Associate, I earn from qualifying purchases.
Fujifilm X-T5 - I love this camera. It’s tactile, and it looks and feels like a classic camera. It takes sharp images, and being able to set up film simulations and largely avoid editing photos is a huge bonus. The only times I really ever edit photos at this point is if I want to clean the image up by removing background objects, or add some more subject/background distancing through masking.
K&F Concept 2-in-1 Filters - These filters are a game changer. Being able to adjust the ND strength with my shutter speed helps to keep my photos exposed right where I want them. I appreciate the CPL effects for close up shots, but it is something you could go without to lower the cost. Just make sure when you’re looking for an ND filter it doesn’t have a vignette or “x” effect. If you don’t care about the cost but still want a variable ND filter with no CPL, the B+W is probably your best bet.
XF 55-200mm Lens - Remember that Fujifilm is not full frame, so this 55-200mm lens comes out closer to 80-300mm. Lots of reach, clear images, good bokeh. Love this lens. It’s what I use most of the time. It’s expensive, but it’s worth it. You can always buy it used, too.
Sigma 56mm - Amazing lens, great price. When I first started using Fujifilm, this lens and the standard zoom lens was all I had. It made some great photos, if a little zoomed out. Highly recommended.
Fujifilm Pancake - Fujifilm has a few different pancake lenses. I wanted one that made my backup camera easy to store away, small and light. That way, I always had a camera on hand. This was the perfect lens for that.
Microfiber Cloth - A must. You don’t want to use your t-shirt to wipe off any grime that may find it’s way onto your lens. Investing in a good cleaning cloth will help your lens stay clean and safe from scratches. Any cloth should do, just make sure it’s a good quality one so that you don’t inadvertently scratch your lens in the process. Personally, I like these from Koala.
